
The complete guide
Choosing White 18 Count Aida Cloth for Your Next Project
Choosing fabric can feel harder than choosing a cross stitch chart. A design may look just right, yet leave you wondering about the finished size, the space needed for framing, or whether the squares will be comfortable to see. Getting those details right before you start saves both fabric and stitching time.
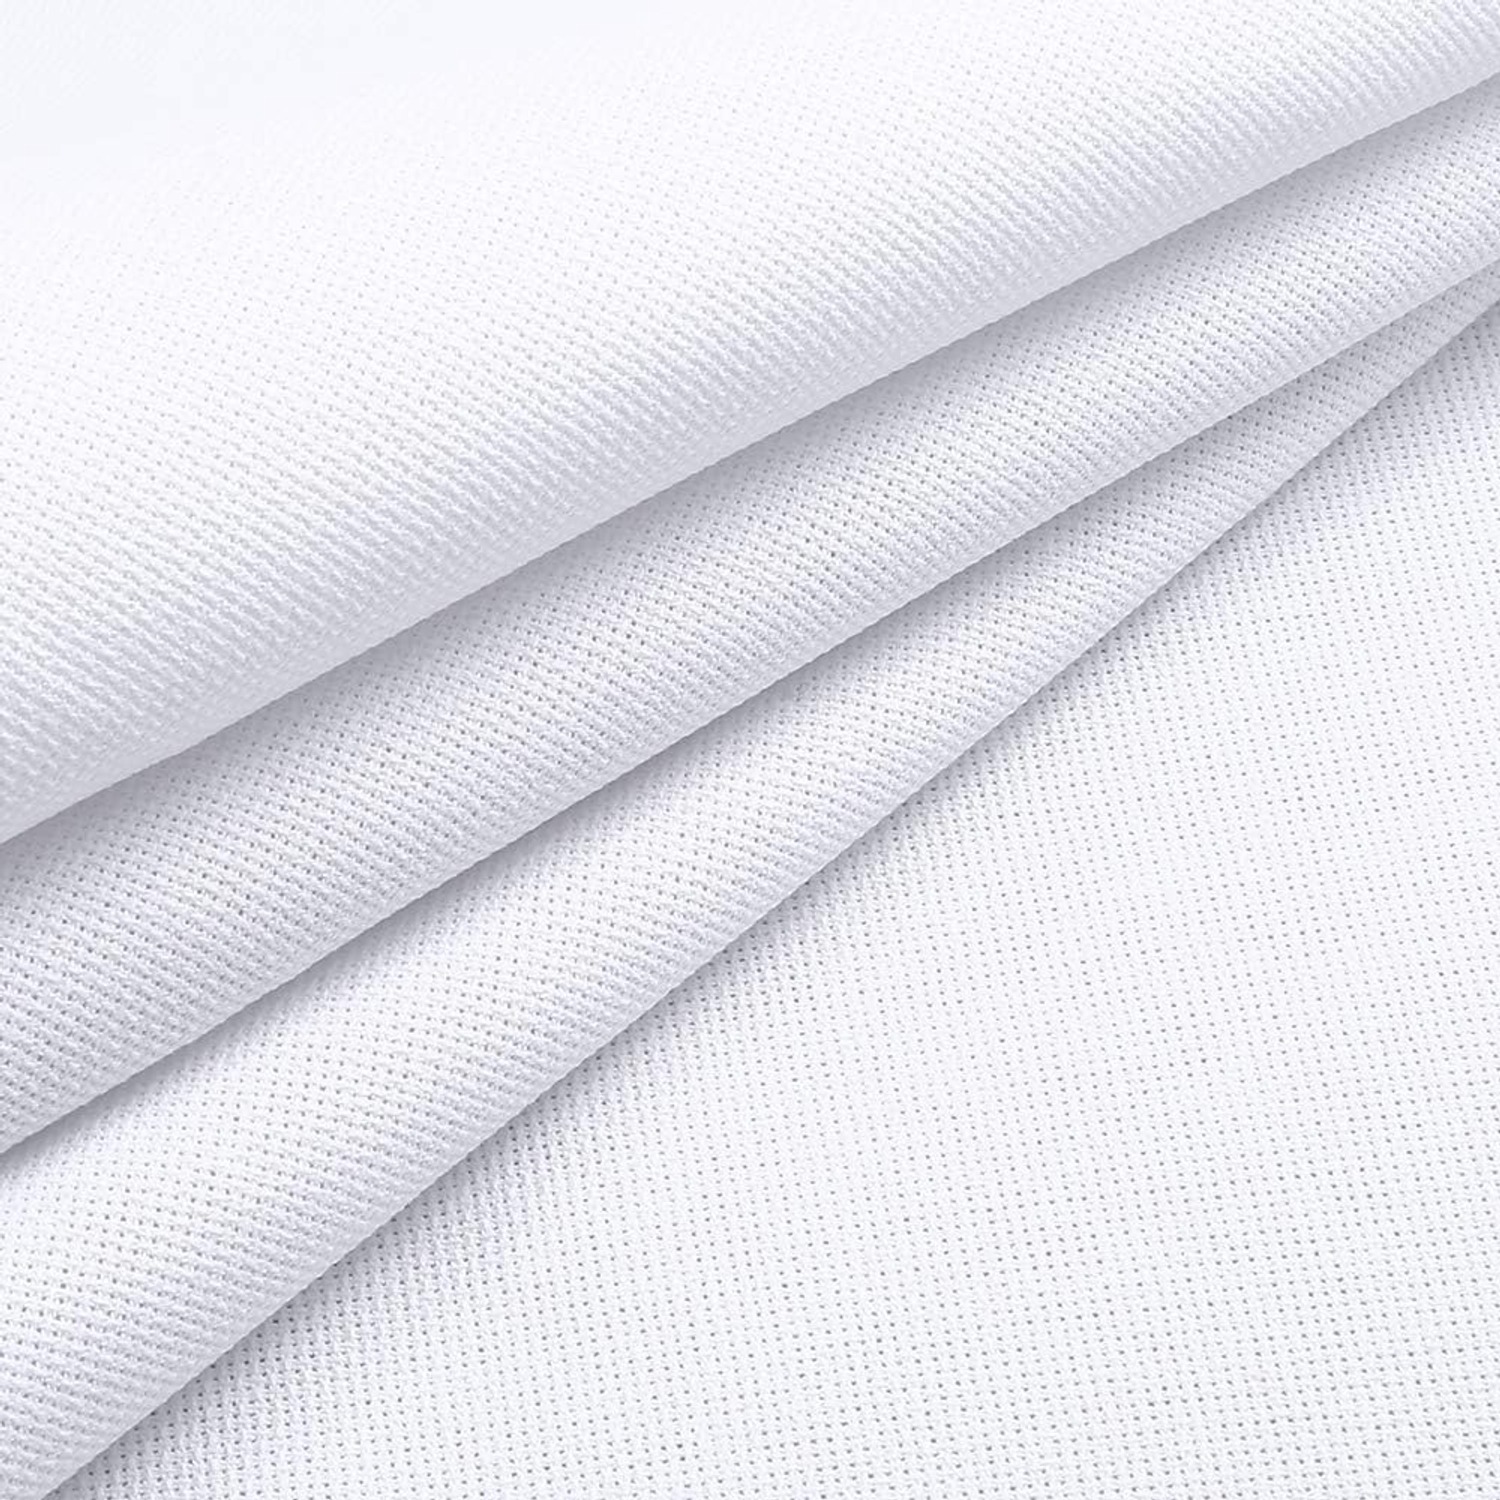
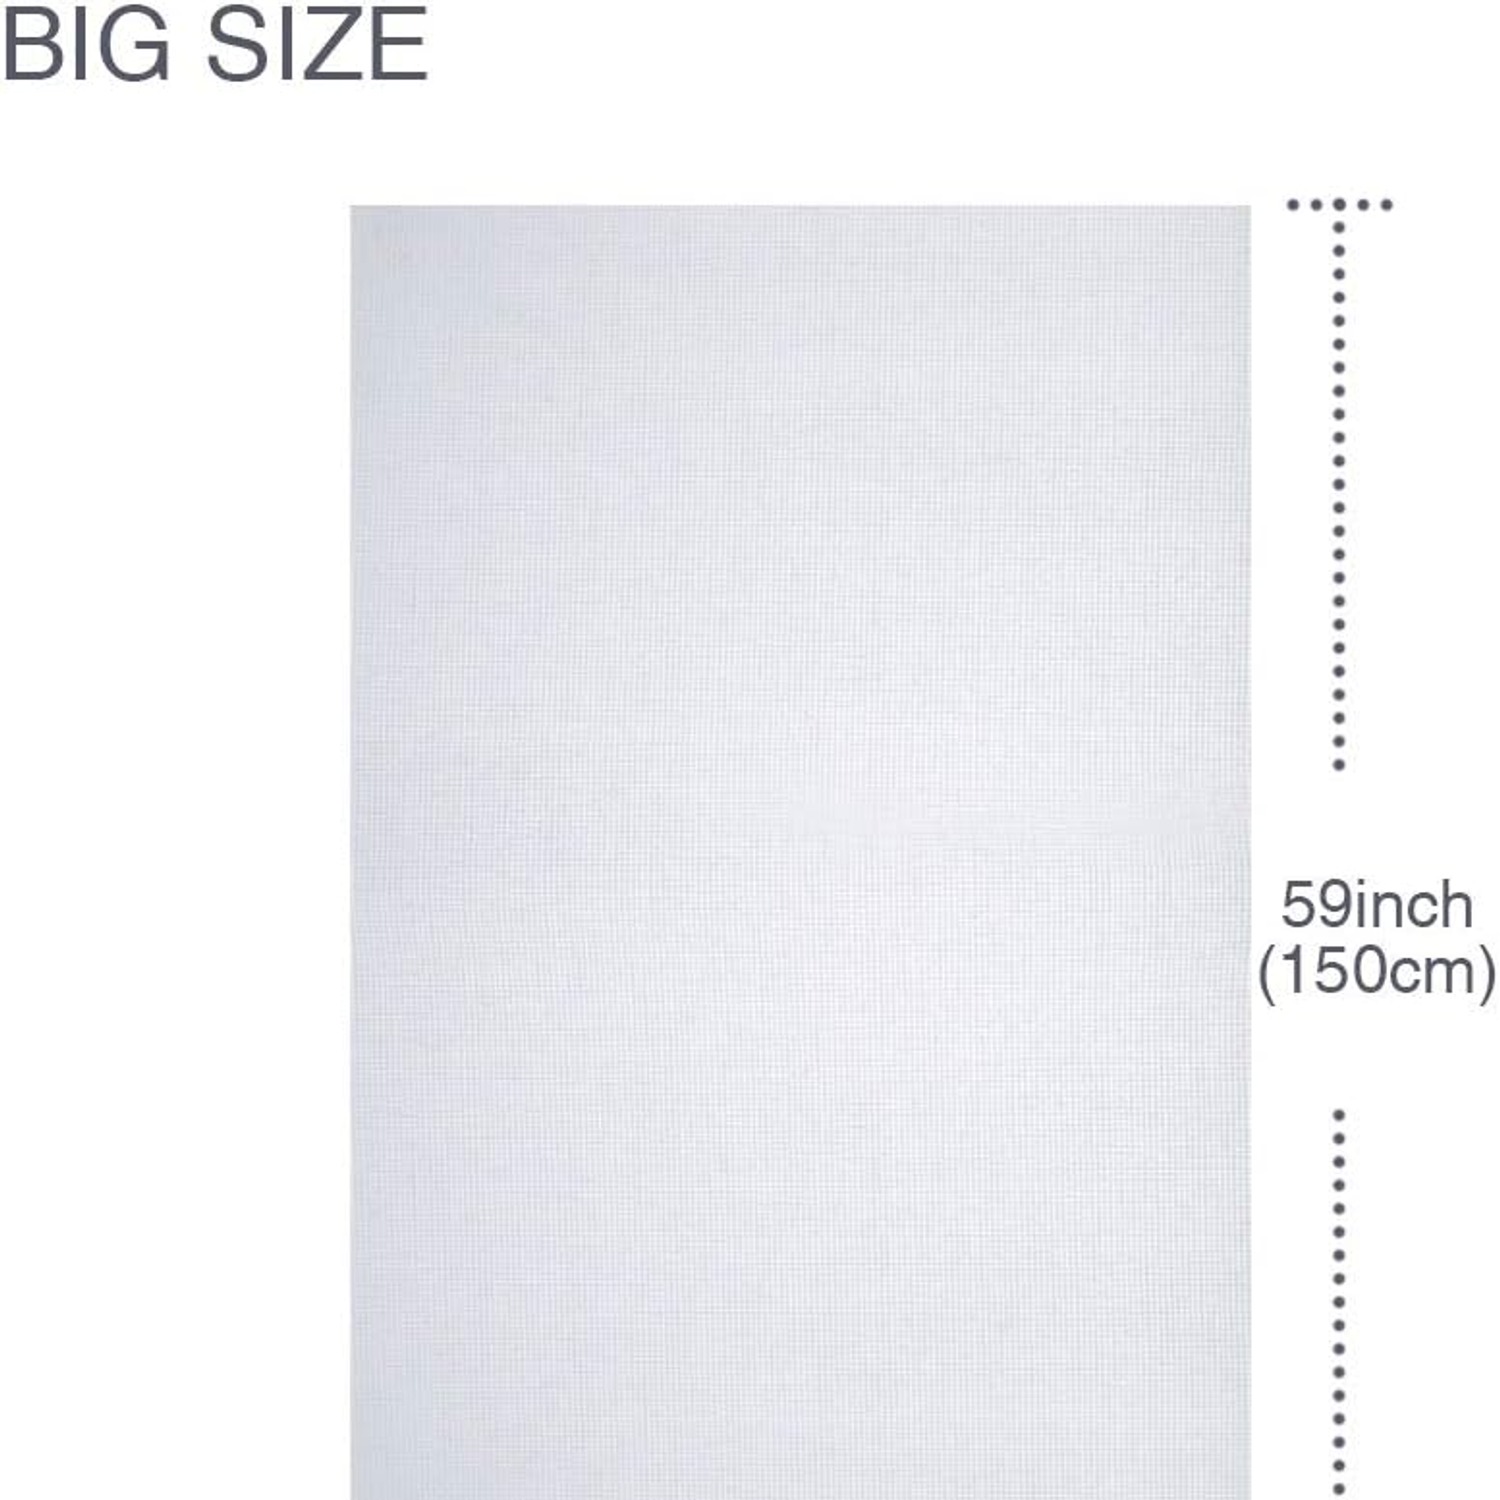
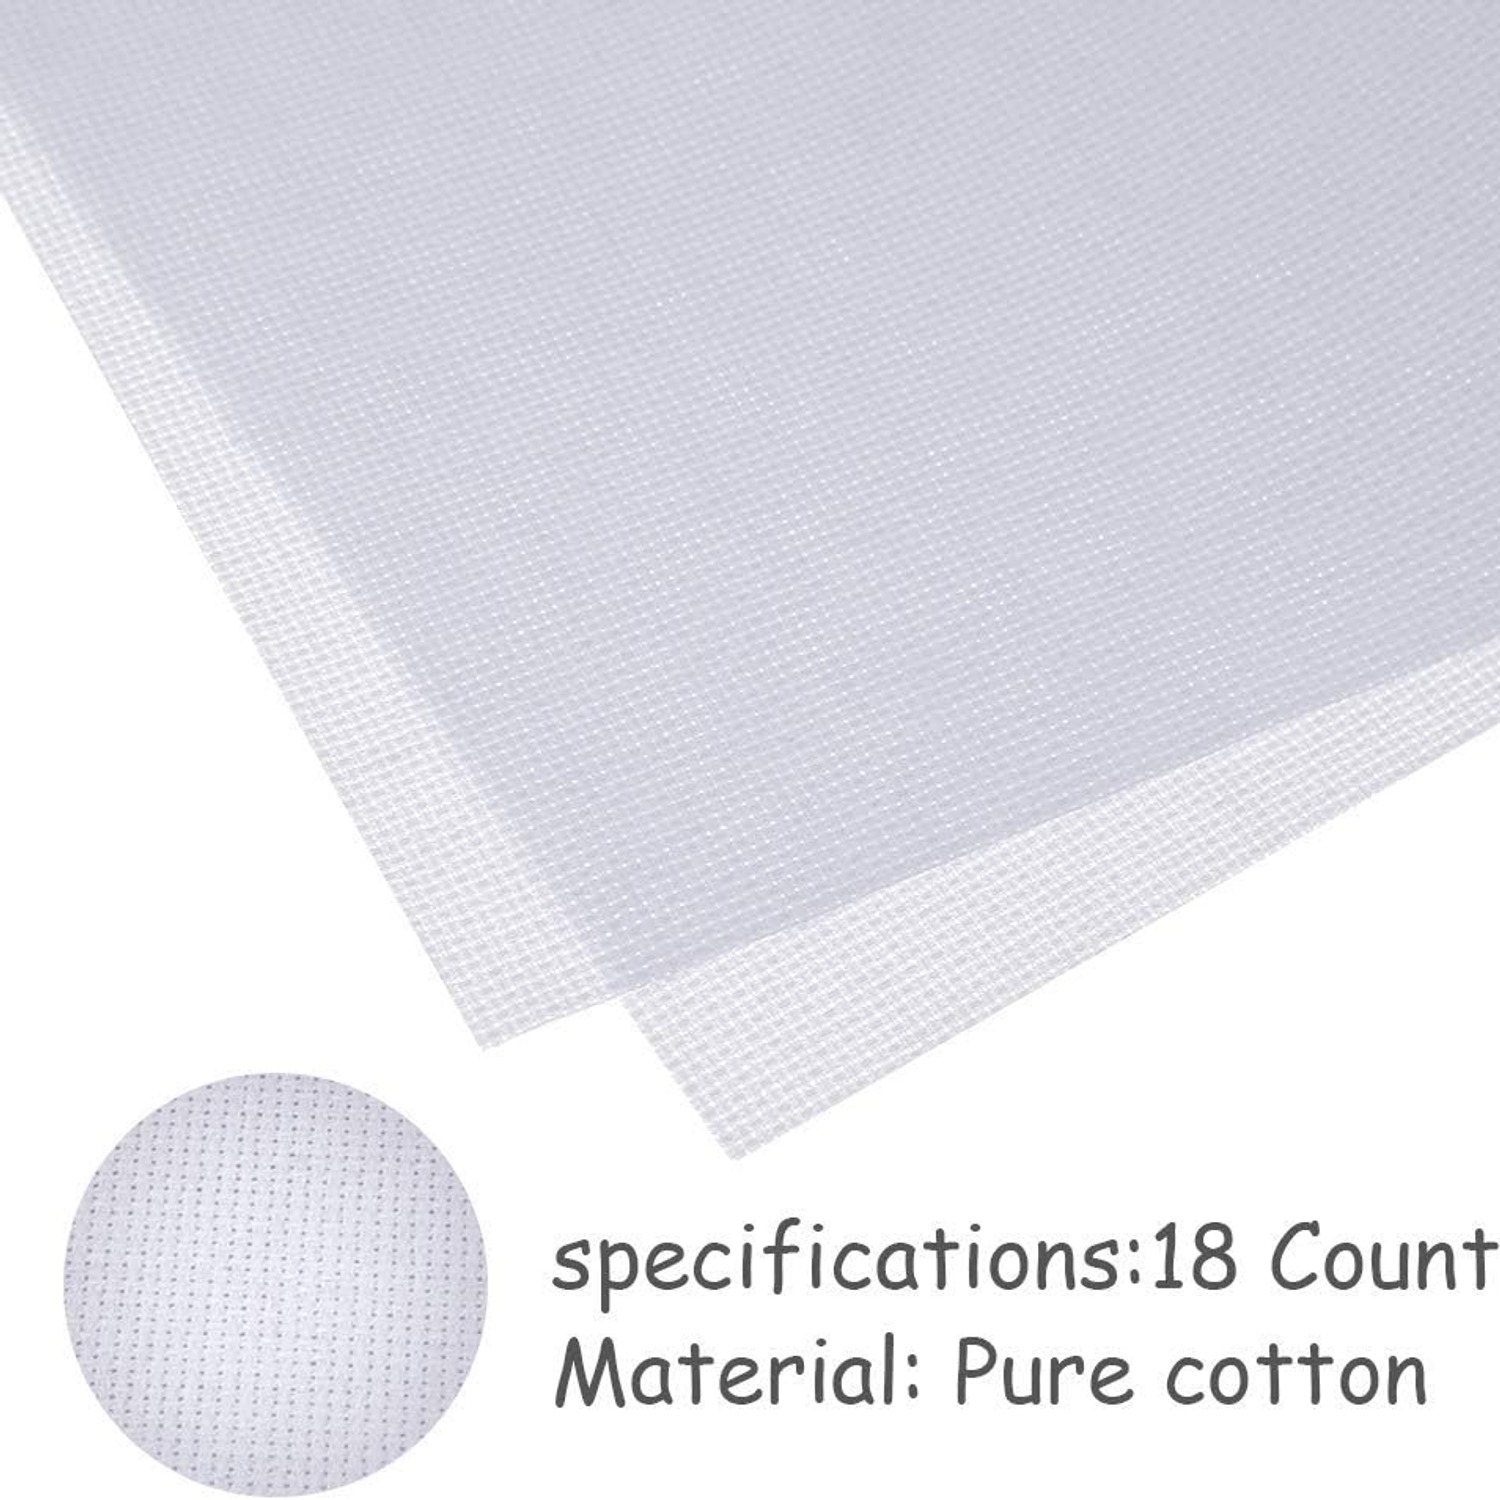
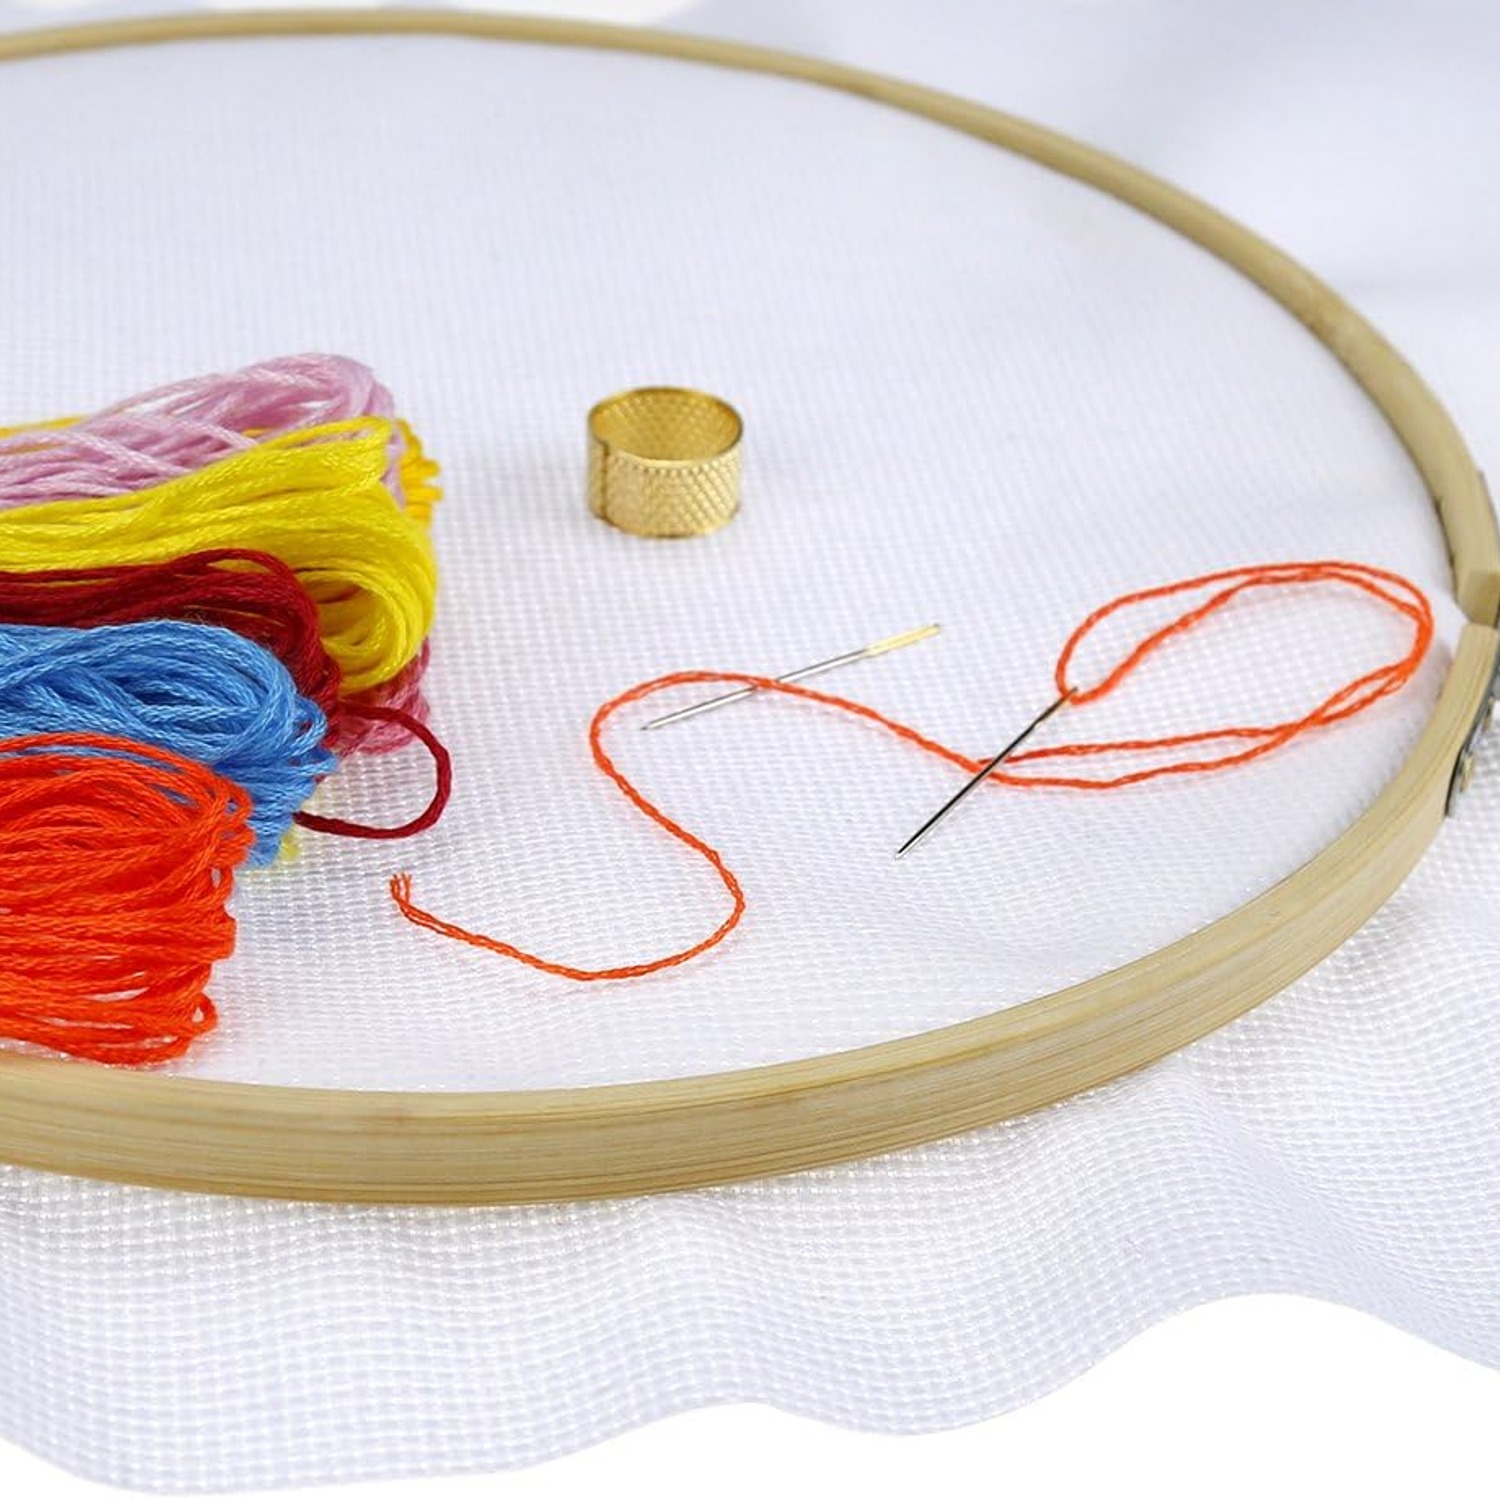
This white Aida cloth is supplied as one 39 by 60 inch piece in 18 count. It gives you a plain base for counted cross stitch, embroidery, and other needlework. The useful question is whether that count and piece size suit the project you want to make.
What 18 count means for your design
Aida has a visible grid that helps you place and count stitches. The fabric count tells you how many squares fit into one inch. When working one cross over each square, 18 count Aida produces 18 crosses per inch.
That number affects the finished size of a chart. A pattern that is 180 stitches wide will measure 10 inches across on 18 count fabric, before you add any border. This is a planning example, not a measurement of a design included with the cloth.
A higher count creates a smaller stitched result from the same chart. It also means smaller squares to see and work through. If you like a compact finish, 18 count may suit your plans. If you find small holes tiring to follow, compare it with a lower-count option before committing.
Start with your chart, not your scissors
Find the stitch width and stitch height on your pattern. Divide each by 18 to work out the stitched area in inches. Then add the fabric you need beyond the stitched design.
That extra space matters. A frame, hoop finish, cushion panel, or sewn border can each call for a different allowance. Follow the finishing instructions for your project rather than cutting close to the final row of stitches.
For example, a design that measures 10 inches across when stitched needs more than 10 inches of fabric width. The amount beyond that depends on how you will finish it. Work out the complete fabric size first, then mark a layout on paper before making a cut.
If your chart specifies a different fabric count, check whether changing it will affect anything else. Special stitches and added details may need more thought than a design made entirely from full crosses.
Make the most of one large piece
The supplied piece measures 39 by 60 inches. It is a fixed-size piece, not a custom cut and not a promise of several separate panels.
Large Aida cloth gives you choices in how you arrange your work. You might reserve it for one broad design, or map out several smaller projects within its edges. Either way, leave room for finishing before deciding how much cloth a project will use.
Paper templates can help. Cut paper to the full fabric size needed for each project, including margins, and arrange those shapes within a rectangle representing the cloth. This is an easy way to spot a layout that wastes space.
Keep track of the direction and position of each planned cut. A few minutes spent checking the whole layout can leave you with more useful offcuts for ornaments, small motifs, or practice stitching later.
Decide whether white suits your thread palette
Plain white Aida provides a background for your chosen colors. It can work for designs with open areas as well as patterns that cover most of the fabric.
Look closely at the unstitched spaces in your chart. Those areas will show the white cloth, so they are part of the finished appearance. A pattern photographed on cream, gray, or colored fabric may look different when worked on white.
Very pale thread can be harder to distinguish from a white base. That is not necessarily a problem, but it is worth checking before starting a large area. Lay a few chosen threads against the cloth in the light where you plan to stitch.
No exact shade reference is supplied for this white embroidery fabric. If matching an existing textile is essential, avoid assuming that all white fabrics will look identical.
Think about comfort as well as detail
An attractive chart is only part of a satisfying project. You also need to feel comfortable counting its stitches for the time you plan to spend on it.
Good lighting makes the grid easier to follow. Place your work where you can see the holes clearly without bending close to the fabric. If you already use a magnifier for detailed needlework, include it in your setup.
Beginners do not have to avoid 18 count cross stitch fabric. Still, a small first project gives you a chance to learn how the count feels. It is easier to judge your preferences on a modest motif than halfway through a large stitched picture.
If you have used lower-count Aida before, expect the same chart to occupy less space here. Take your time with the first few rows while your eyes and hands adjust to the smaller grid.
Match your tools to the project
This is the fabric. Threads, needles, a hoop, and a chart are not specified as included, so plan those separately.
Start with your pattern's recommendations for thread and needle choice. The fabric description does not state a required needle size or strand count. A small test area can help you judge coverage and whether the needle passes through comfortably.
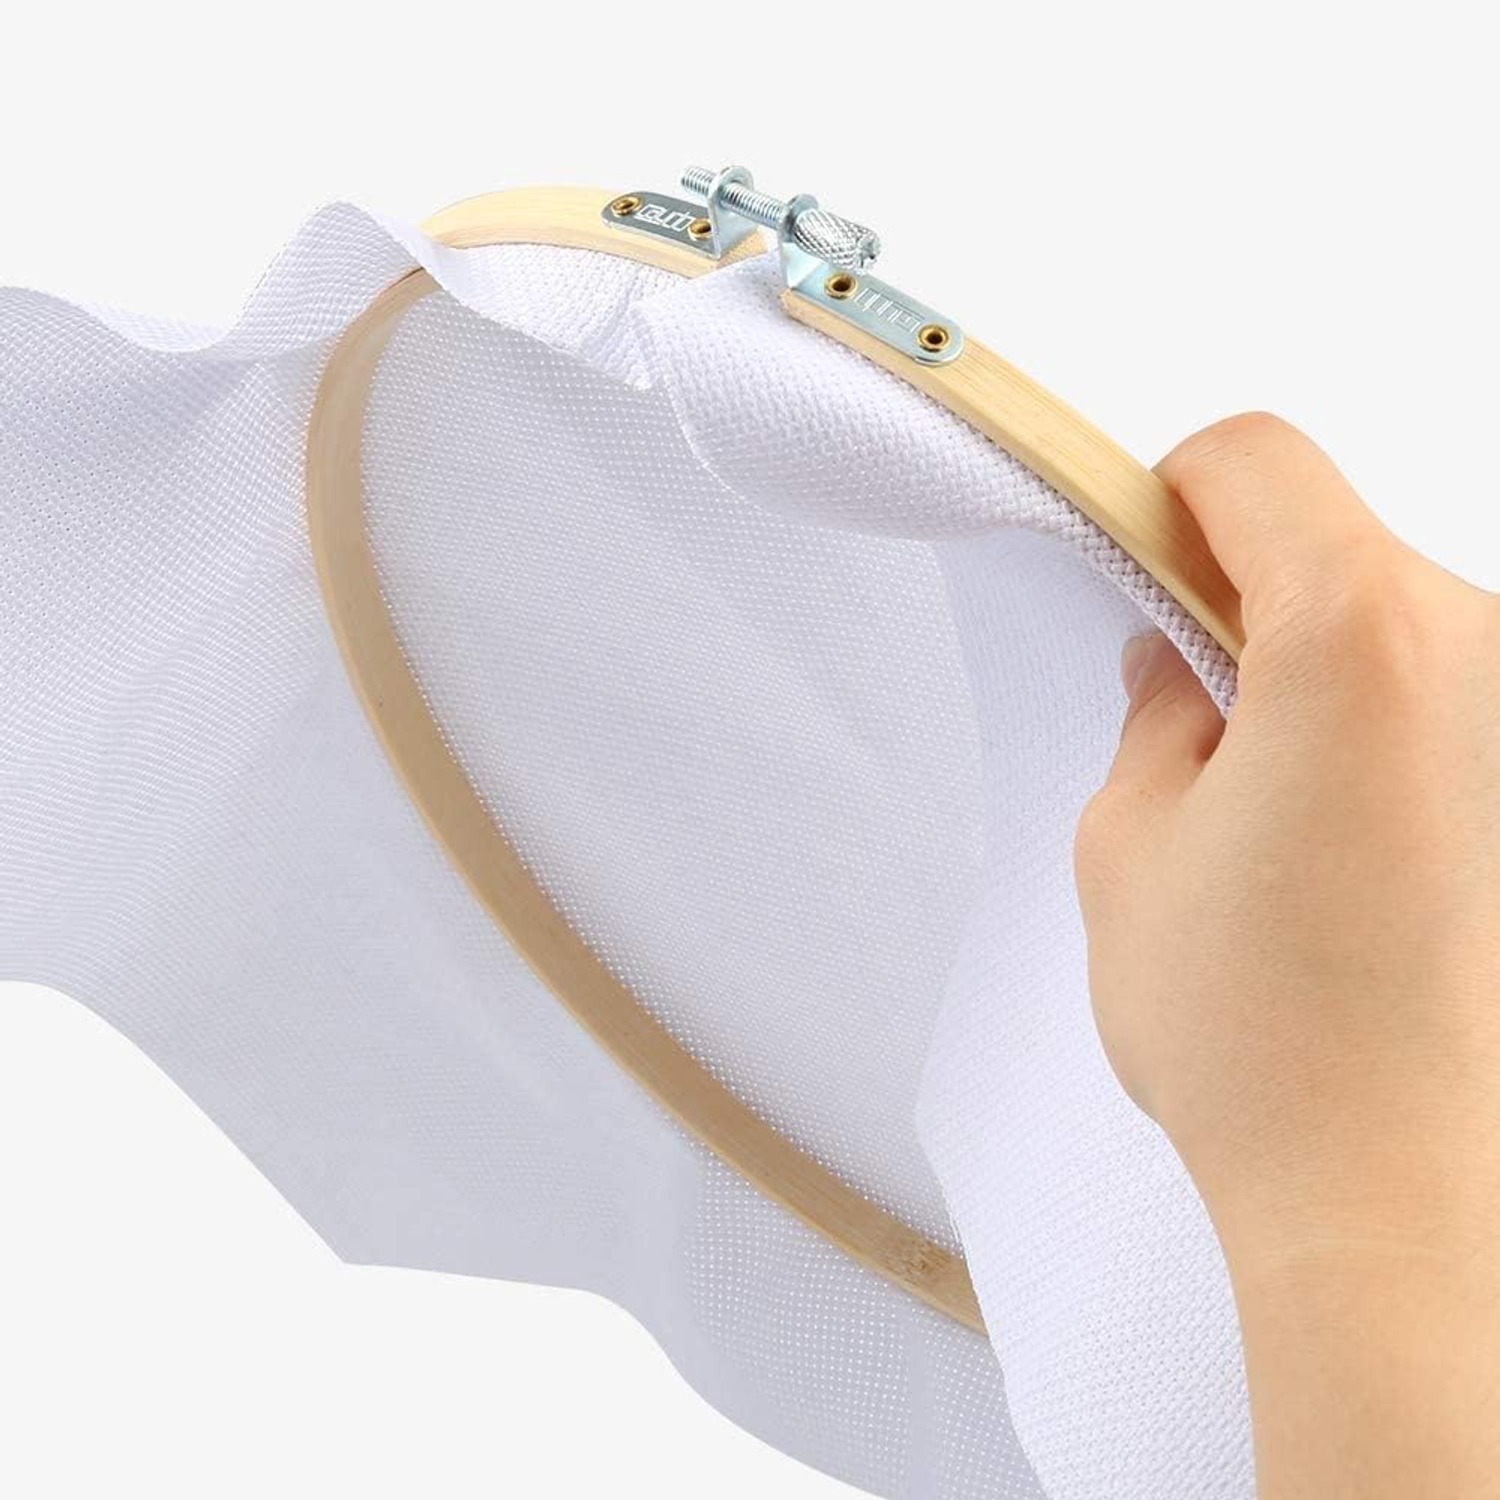
Some people prefer stitching in hand, while others use a hoop or frame. Choose what helps you maintain even tension without stretching the cloth. Check your work from time to time rather than pulling every stitch as tight as possible.
For embroidery beyond counted cross stitch, test the stitches you intend to use. Aida's grid is part of its structure, and that can affect the look of free-form lines or closely packed stitches.
Plan a handmade gift with the finish in mind
Cotton Aida fabric can be the starting point for a sampler, a stitched picture, or a personal gift. The most useful planning step is to decide how the recipient will use or display the finished work.
A framed piece needs enough spare cloth for mounting. A stitched panel that will be sewn into another item needs allowance for its construction. Decide this before cutting, even if the embroidery itself is small.
If you are giving the fabric rather than a finished project, consider whether the recipient already works with 18 count. Someone who enjoys detailed counted designs may welcome that choice. Someone who prefers larger squares may want a different count.
Gift packaging is not specified. If presentation matters, make your own wrapping plans without relying on extra packaging being included.
Check care before adding stitches
The stated care instruction for this fabric is hand wash only. Once you add threads or embellishments, their care needs matter too.
Before using a marking method, cleaning product, or unfamiliar thread, try it on a small offcut. A test is especially useful when a mark must disappear completely or when several thread colors will be washed together.
Prewashing guidance and a shrinkage rate are not given by the maker. Think through your project requirements before deciding whether to wash the cloth first. Washing also changes its eligibility for a change-of-mind return.
An ironing temperature is not stated either. Check any care details that arrive with the fabric rather than assuming a heat setting. Keep unfinished work clean and protected so it needs as little treatment as possible.
Inspect before washing or cutting
When the fabric arrives, check that the size, count, and appearance meet your project's needs. Do this while the piece is still unused and before removing or discarding its packaging.
Returns are accepted within 14 days of delivery for fabric that is unwashed, uncut, unused, and in its original packaging. The customer pays return postage under those conditions. Faulty or wrongly described goods are put right free of charge.
A delivery lead time is not specified by the maker. If you are working toward a birthday, holiday, or other deadline, check the delivery information for your destination and allow time for the stitching itself.
The short version
Choose this plain white Aida when your pattern suits an 18 count grid and fits within one 39 by 60 inch piece, including finishing margins. Check your thread palette, plan the layout, and make sure the smaller squares feel comfortable to work on.
Keep the first steps simple. Measure before cutting, test unfamiliar methods on an offcut, and follow the hand-wash care instruction. With those decisions made, you can spend less time second-guessing the fabric and more time enjoying your needlework.